
The weather could not have been more perfect yesterday. India and I dropped Kalib off at Wild Intelligence and we came home and got started on the shelf!
I knew this day was going to be a great way to teach some real world math application. No harm in squeezing in a little homeschooling along side a fun project, right?
First, we had to figure out what size it was going to be. I knew I wanted it to sit behind my ironing board on the floor in the space between the wall and the legs, so we had to figure out how long it could be and how tall. The depth was already decided for us since the wood was 6 inches wide. We took our measurements and then we started pulling out the tools we would need.
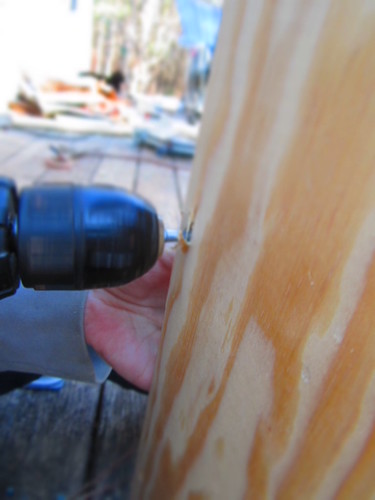
We pulled out the trusty Chop Saw (a power tool personal favorite), the cordless drill, the screws, a level, a square, a pencil and some paper for notes and measurements, drill bits, and the hammer.
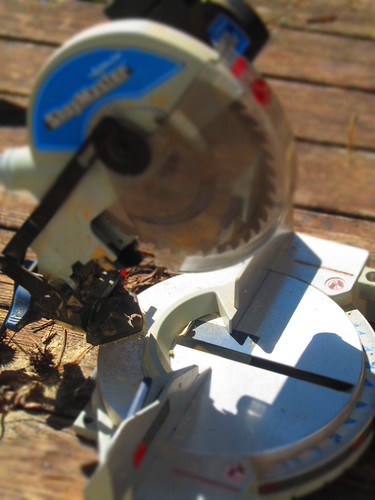
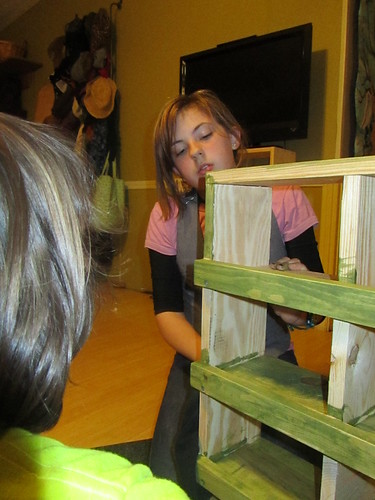
At first, India was afraid to use the Chop Saw, but after a few times of watching me she couldn't stand it anymore and she made most of the cuts the rest of the day. (Girls and power tools are an awesome combination if you ask me and of course I was with her every time she made a cut - I do know a Chop Saw can easily chop off a finger.)
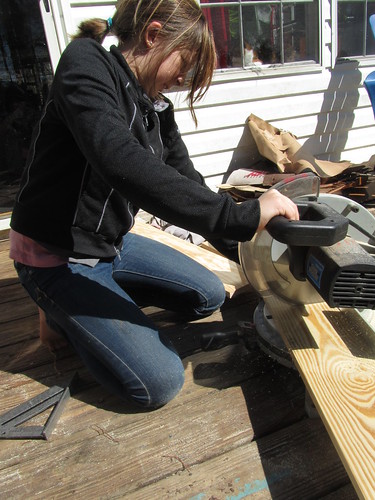
(this picture makes me so proud - that's my girl!)
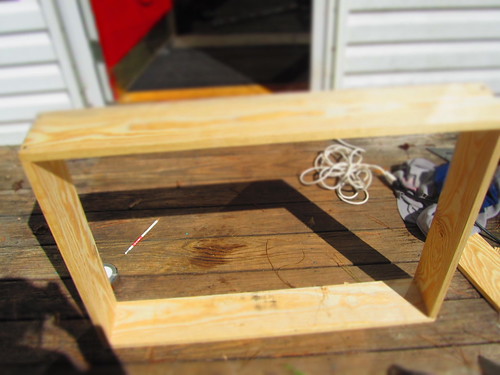
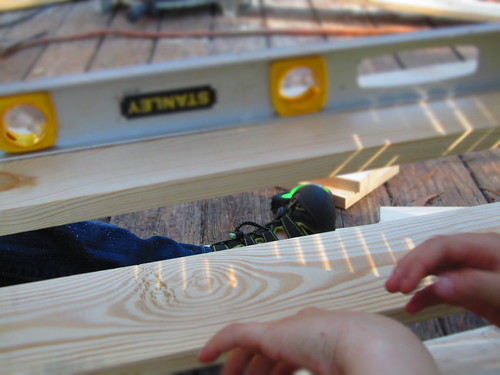
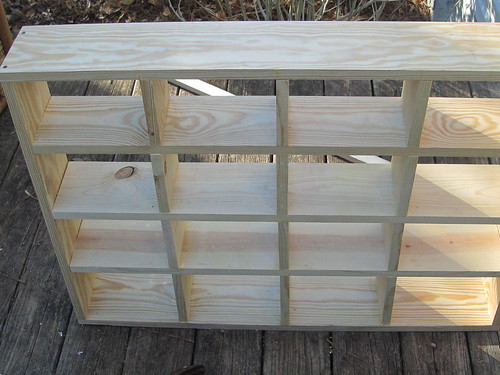
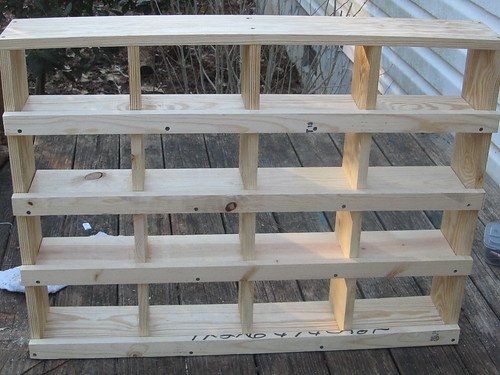
We made the frame first.
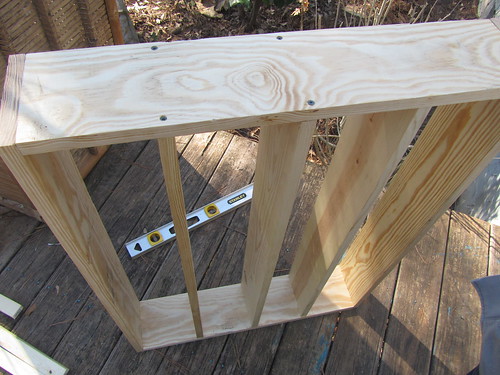
And then shelves. I knew I wanted it to have 4 shelves, so we had to figure out the spacing and how long to cut them.
At this point, we realized we were not going to have enough wood to finish.
Should we go shopping for more?
Oh, definitely, "YES" ... and while we were there, we got some green stain for it!
When we got home, we unloaded the wood we bought and headed back to Orange Twin to pick up the boy.
As soon as we were back, we really worked hard. I wanted to be done by the time Jason got home. I really wanted to show him I could do it by myself. Maybe deep down I needed to prove to myself I could because at bed time he told he had no doubt it would be fine. (Such a supportive guy.)
The cubby's were a nightmare. It turned out that I had failed to use the level (smart, right?) to get the shelves straight. I measured, but I should have known better - I knew to get it out, I just forgot about it in my haste to get it done.
I had to take it all apart and start over, but the 2nd time was the charm rather than the third.
This time I remembered the level.
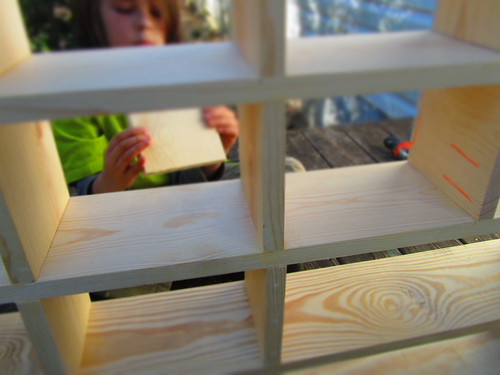
We measured and cut and hammered and glued and got all the cubbys put in before Jason got home.
The finish of the project was to put a small piece of trim on the front each shelf to hold the thread in. We all know how thread rolls around so easily and though I plan to have the spools standing, it is inevitable that it will fall down from time to time. (We do have a puppy in the house and cats and unfortunately, they do not care whether my thread is standing or on the ground rolling around.)
Jason was a sweet guy and he sanded it for me so I could make dinner.
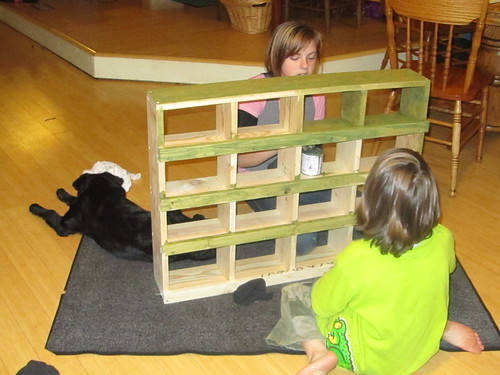
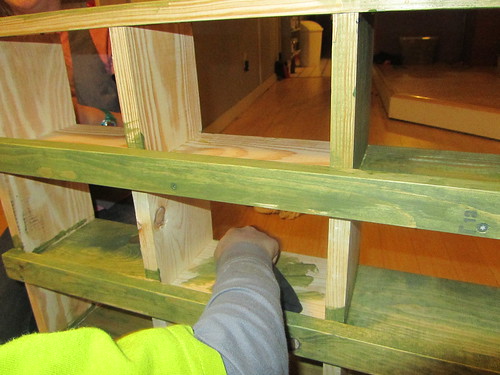
After dinner, while Jason was at the Y exercising, we brought it in and set to work staining it. India picked out the color and Oh! How I LOVE it! - And best of all it matches the stain on the legs of the sewing table Jason and his grandfather built for me.
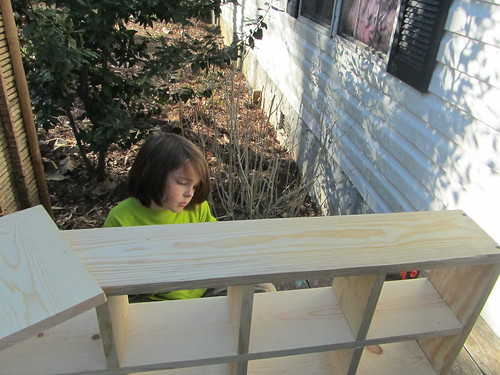
All finished and drying well before bedtime. Once it is dry, it will be taking its proper place, under my ironing board.
What a joy to spend the entire day away from the computer, television, and video games and with our children engaged in a fun project that we all learned a little something from! (Me - next time use the level!)
What's my next project you ask?
Well, I guess you will have to keep reading to find out!
lovely!!! What a beautiful family project :)
ReplyDelete